3. IFC MAPPING CONFIGURATION

Here we will import an Archicad IFC translator that integrates the settings for exports to IFC 2x 3 and IFC4 as well as the configurations to export only the required properties phase by phase of the project.
Manipulation
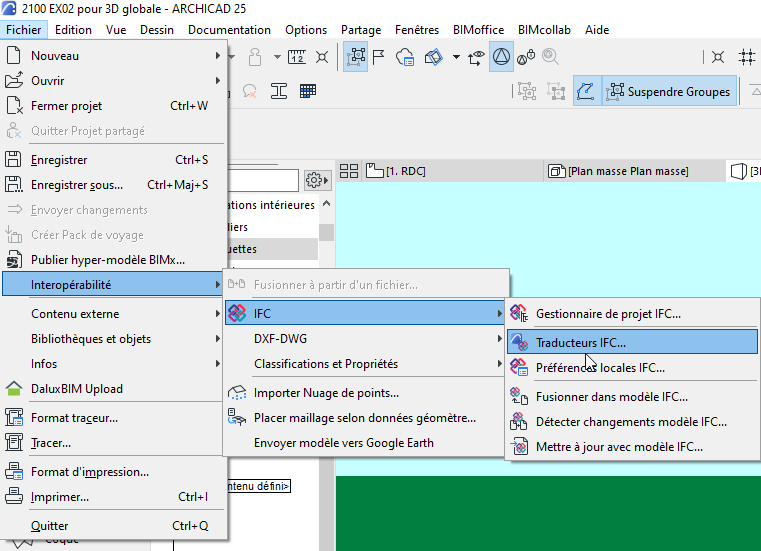
- Open the menu File > Interoperability >IFC > IFC Translators
- Click on the import button and select the file “CRTI-B Archicad IFC 2×3 & IFC4 translator Vx.x.tpl

- Check in the list the IFC 2×3 and/or IFC4 translator to import
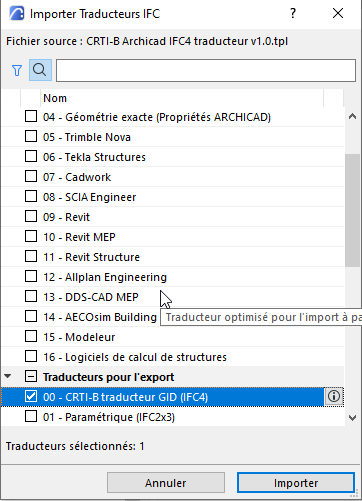
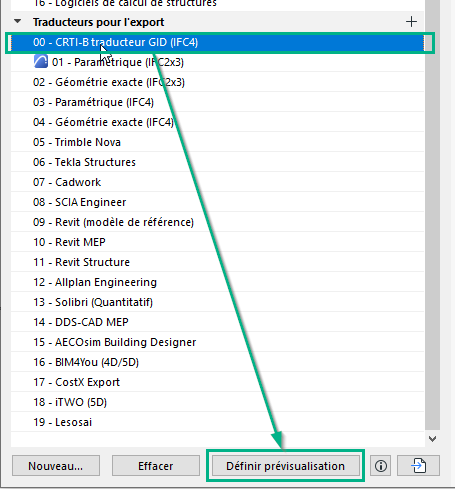
- Define the default display on the desired translator: select the translator -> click on “Define preview” button. At this stage, only the mapping for phase 1 is loaded with the translator for IFC 2×3 and IFC 4.
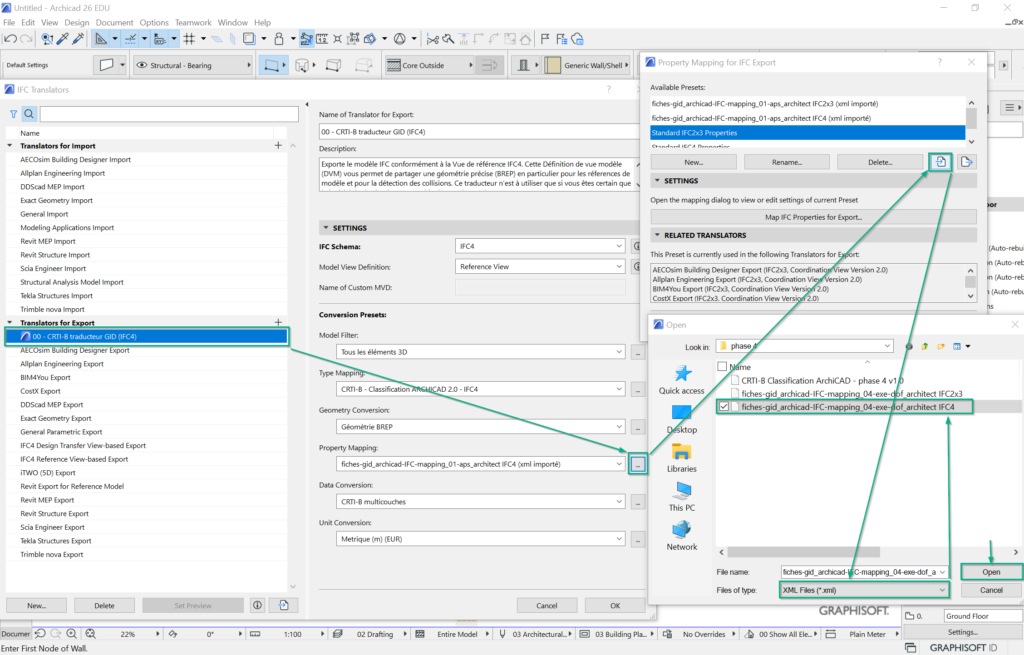
- Load the mappings for phases 2 to 5 for IFC 2×3 and IFC4 (see download, by folder), 1 at a time, 8 imports in total. Note that for each manipulation, you must select the .xml file format in the dialog window.
- File menu > Interoperability > IFC > IFC translators…
- Check in “type matching” that a “source classification system” is selected: you have to select the option “Archicad classification – 2.0”.
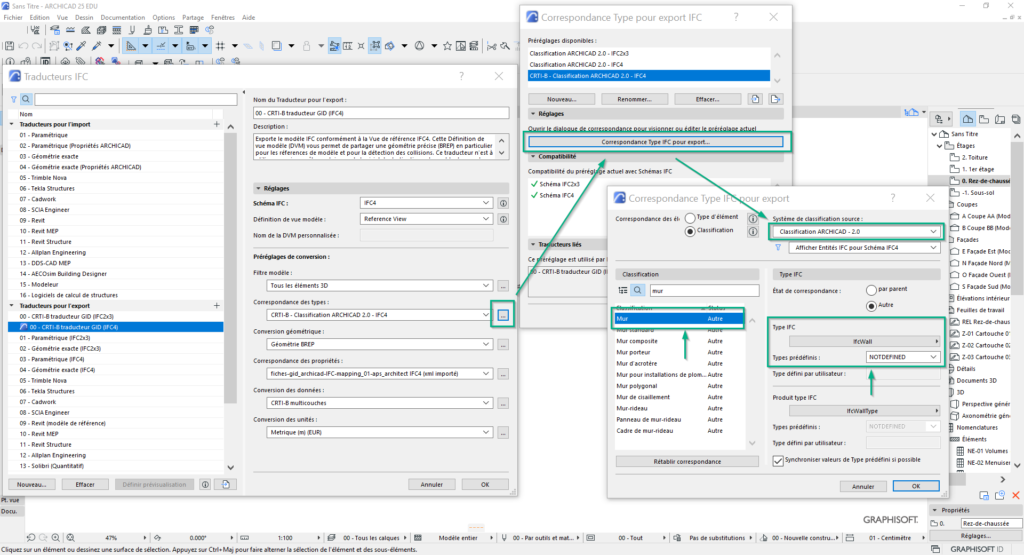
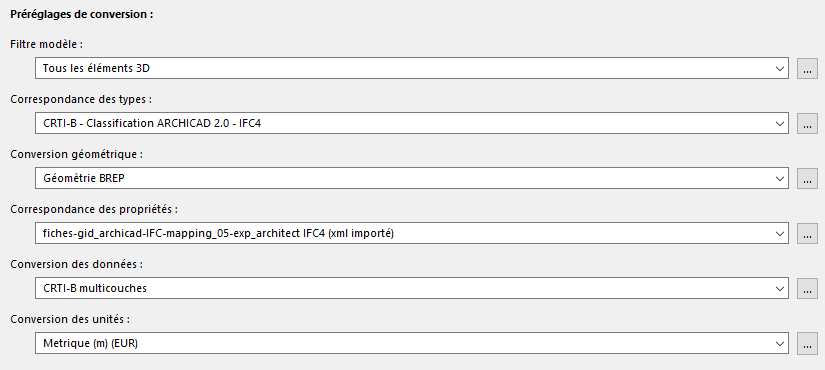
CAUTION – check in your translator that :
- model filter: “all 3D elements” or customization if needed
- type mapping : “CRTI-B – Classification 2.0 IFC 2×3 or IFC4” depending on the selected translator.
- Property mapping : “fiches-gid_Archicad-IFC-mapping_xx…”
- Data Conversion : “CRTI-B mutlicouches”
INFO: Please note that the translator will only work with a French Archicad 2.0 classification and the xml file containing the provided properties.